Today we cover Layering!
Layering is like building with legos, you stack one on the other but instead of blocks we use layers of different colored paint paint. That is the most basic premise of layering. I’ll get a little more into detail for you though! Also here is a Video on Layering if you want to see it in action. Layering also goes hand in hand with, you guessed it Glazing!
This Technique and all the others is meant to build Light and Shape . You can find all of Pirate Monkey Paintings tutorials HERE.
If you liked this article and want to see more in depth tutorials come check out Pirate Monkey Painting’s Patreon!
Why is this technique important? Well for starters it’s a quick way to build contrasts as well as keeping control of placement without much randomness in the brush stroke!
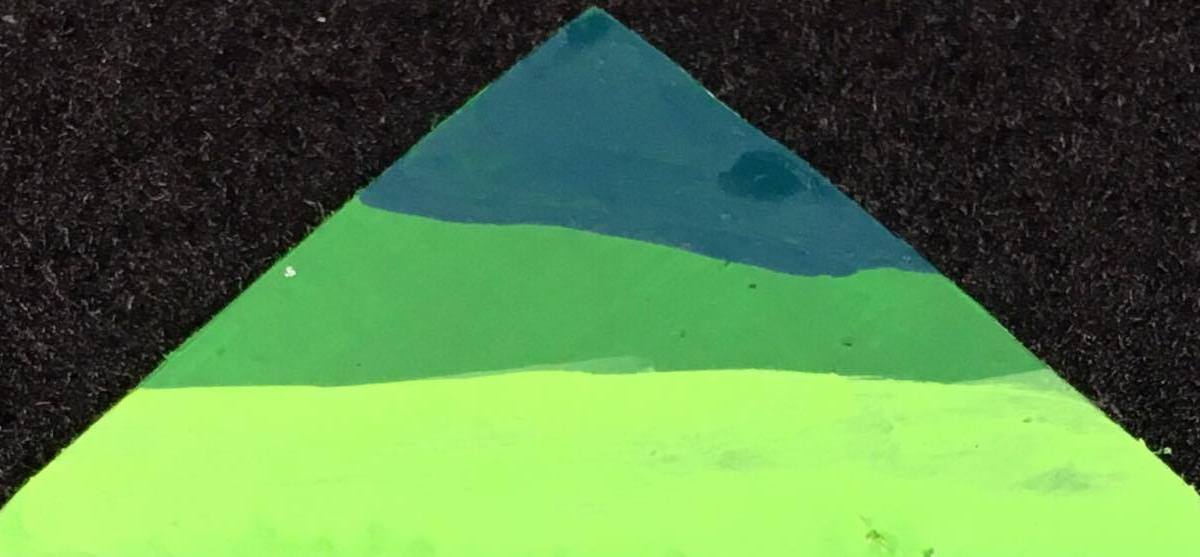
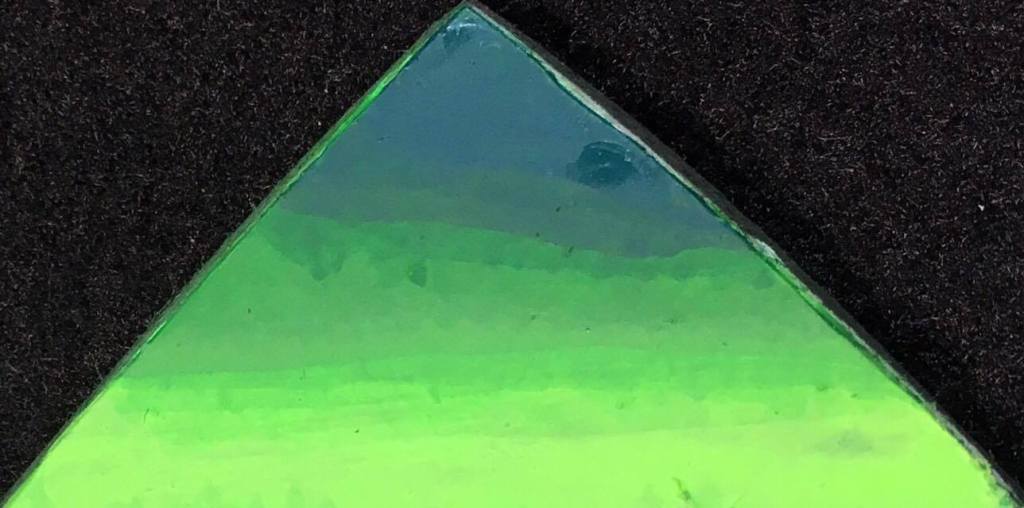
I will start this how I began the glazing article. As stated above to layer you put down a arrangement of colors on top of each other. There is not one proper order to do this and I have seen it done every which way, Low to high, high to low, middle to high to low, middle to low to high… not to mention you can also change the colors as you go so you get the picture, application is entirely up to you. The main goal is to build these steps of color.
On the Topic of color and layering. You do not always have to add a new color to layer. Depending on the opacity or transparency of the paint you can actually layer the same color on to of itself to create a transition.


The thinness of the paint is also a big question with layering. generally a paint is considered layer consistency if it is creating a visible change in Hue (color) or Value (lightness & darkness) this can be paint right out of the pot ( I wouldn’t recommend this) or something that is right on the edge of being a glaze. The right consistency is also entirely up to what you feel comfortable with! That being said I encourage you to experiment!
(quick note the demo surface is a 30 mm square)
There is no right way to apply a layer I could write a whole article on different brushstrokes. One of the more commonly used methods of applying a layer is by using a brushstroke with the side of the brush in a straightish direction. Example above. these strong separations should still match the shapes you are painting
Some also use the tip of the brush but this becomes dangerous with thicker paint because you can build a edge or wall making glazing and smoothing more difficult.
This is the most beginner friendly as placement is much more obvious and the consistency initially isn’t as important. Then the smoothing is done with glazes.
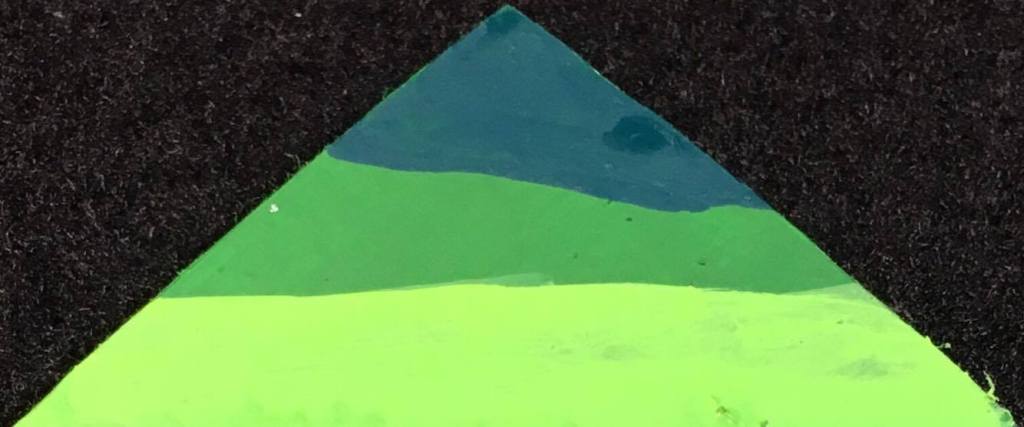
The second commonly used method is to push the pigment where you want it. This is similar to the same brushstroke used in glazing but just with thicker paint. There may still be a visible change from one step to another but that is ok.
Using this method can help reduce that change making your work later with glazes easier. Segway into glazing self high five!
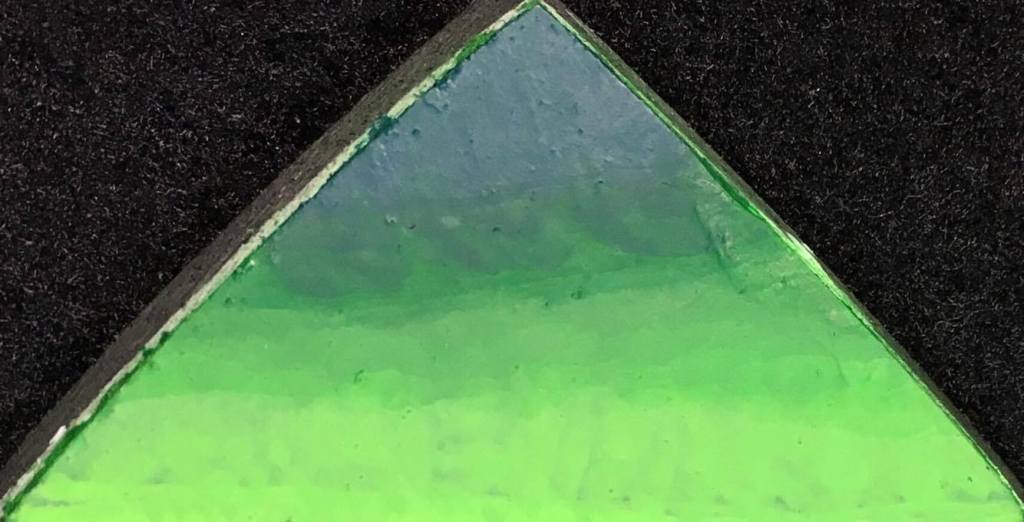
This is more technical as you have to play with consistency and pushing the pigment. if the gradual steps are made though it makes smoothing much easier.
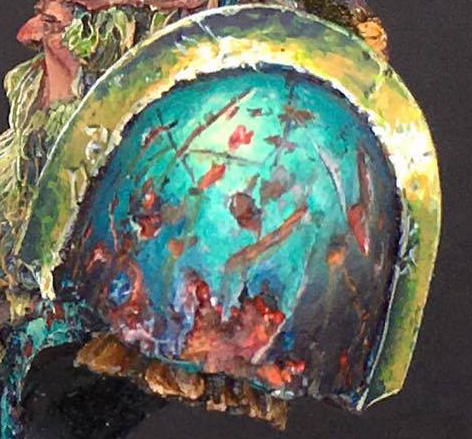
Glazing is layering’s best bud. Because we are building layers the transitions are not always as gradual if we mix a color between the two layer colors and then glaze this in between then we will eventually smooth the transition. The if you are staying within one hue one middle color can be glazed over the whole thing to smooth.
There you go! that’s layering! Here are some more awesome references!
Rafael Marin AKA Volomir
http://volomir.com/en/layering-brushtroke-miniature-painting/

7 thoughts on “Pirate Monkey Painting Basics – Layering”